Woodworking to the rescue!
I wanted the stands to not overshadow the medals; however, I also want them to be interesting to make and to show off whatever wood they were made from. I decided the if the face to sloped towards the back and I could use bronze pins to hold the medal in place. To make it interesting I decided to slope the back face and to keep the stand more hidden I'd round the back which would round the top edge too.
I used TinkerCad to work through some ideas and the above image is what I came up with. It's kind of hard to make out in the static image but it was good enough for me to wrap my head around the concepts I wanted in the final medal stand. My next step was to rough out a prototype.
When I made the above prototype I grabbed some red oak out of my scrap bin that was relatively thick. As you can see I aligned the wood grain with the back of the stand. I did this about a year ago; however, I think I just used my band saw to cut the front and then cleaned it up on my belt sander. I curved the back by trimming the corners on the table saw then after clamping the block to my work table I used my hand plane to refine the curve.
Satisfied with the Alpha prototype I went to my local hardwood store and bought a large block of walnut. I cut a piece off the end to make my Beta prototypes. These would be made to the final size I was aiming for. I did make a plywood template to help me trace the outline.
It looks pretty good but it isn't exactly what I was aiming for. But hey, it was just another prototype. It was nice enough that we went ahead and finished it with spray shellac and gave it to one of Jen's painter friends.
We were in lull during our dining room remodeling and I decided to take my big chunk of black walnut and make more stands. Jen wants hers and her friend - let's call him Rex to preserve his anonymity - wants a few more too. I started by using my template to see how I get holders out of my block of wood.
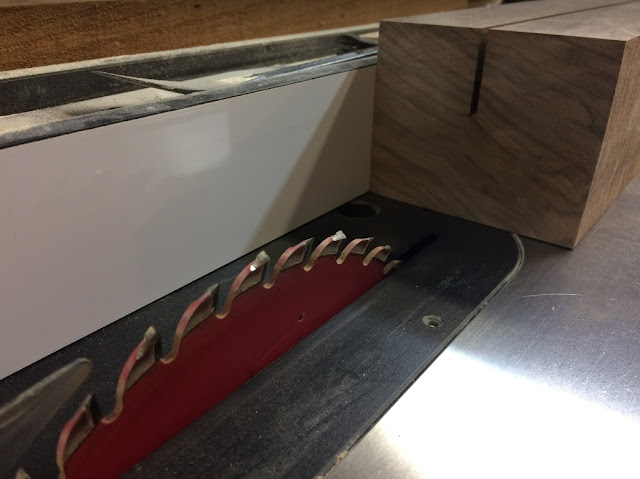
I don't remember if I planned it this way but I can split my block in half and get seven or eight out of each side. I split the block using my table saw.
I then used my compound miter saw to divide one half into sections big enough to get two stands out of. My 12" miter saw was only able to cut the block because it fit between the arbor and the fence.
Then I used my band saw to split the two stands apart. I then roughly cleaned each stand on my stationary belt sander.
If you look closely you can see that the sanding marks are going horizontally across the face. That's because the only flat surface perpendicular to the face. If I tried using one of the other surfaces I'd probably ruin most of the pieces by sanding them unevenly. Those scratches will clean up with some finish sanding.
There's just a couple of steps left: drilling peg holes in the front, rounding the back, finish sanding and finishing. Depending on how the dining room goes, maybe I'll get to it this weekend.
Here's the templates to make your own.


